Homemade Cheese Its.
adapted from Better Homes and Gardens.
yields 15 dozen
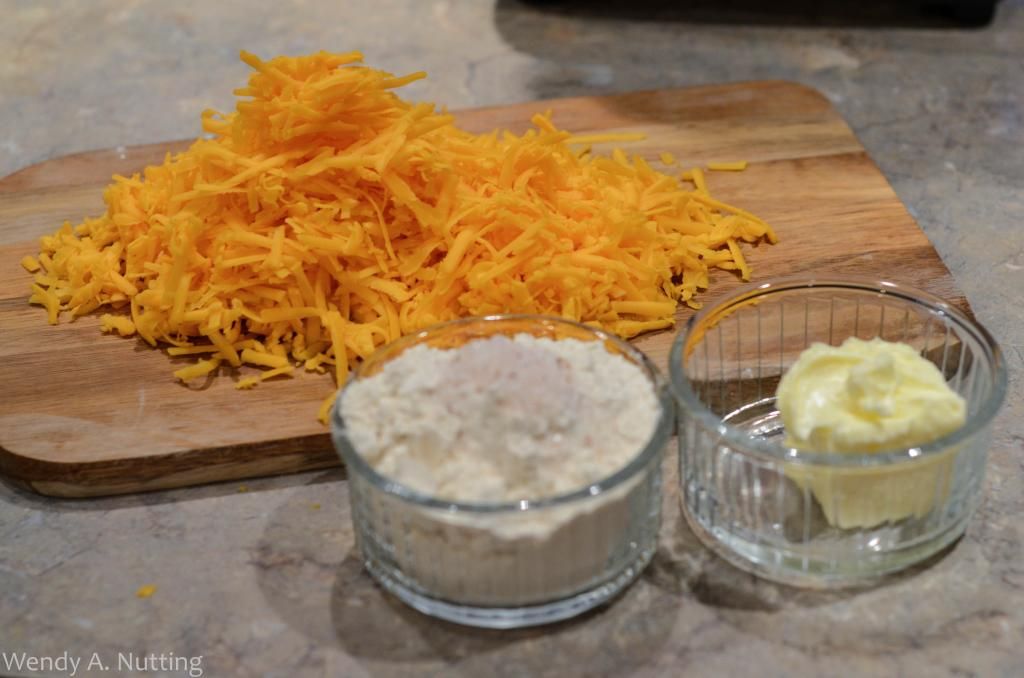
8 ounces of extra sharp cheddar cheese, shredded
4 Tbs unsalted butter
1/2 cup all purpose flour
1 tsp kosher salt
2 tbs ice cold water
Maldon salt for sprinkling on top (optional)
Directions
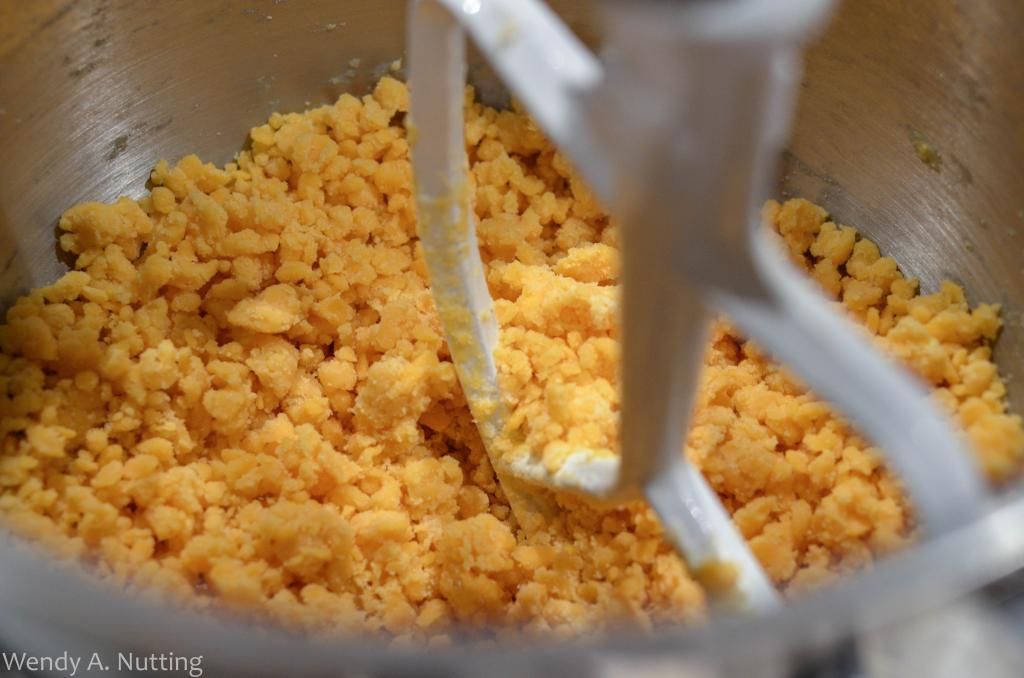
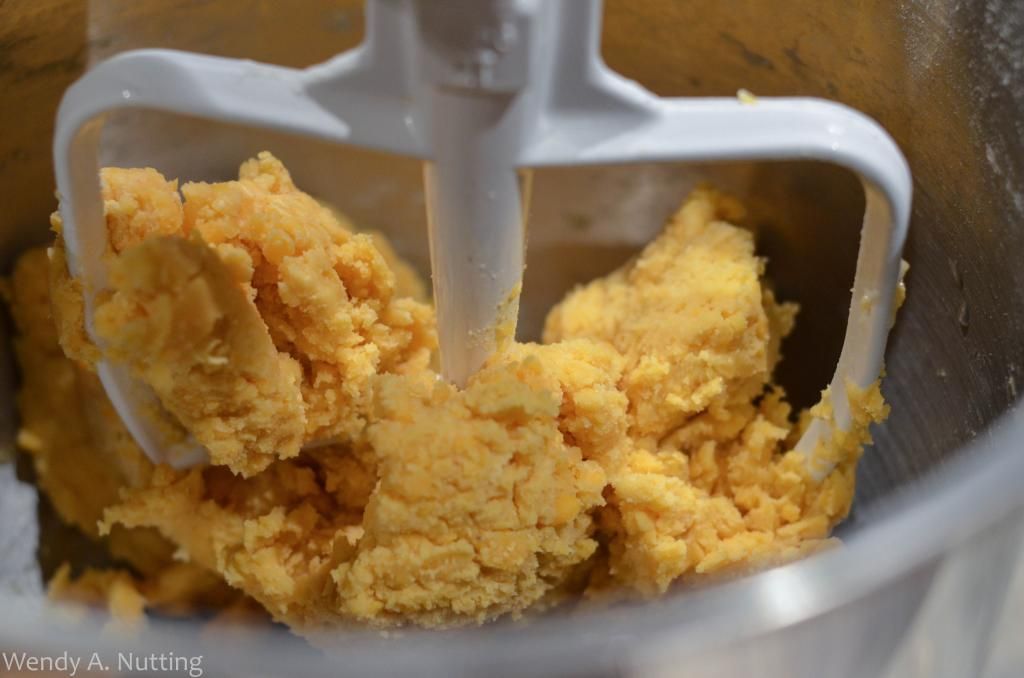
- In the bowl of a stand mixer fitted with a paddle attachment, mix the cheese, butter, and salt. Add the flour and mix on low (dough will be pebbly). Slowly add the water and mix as the dough forms a ball.
- Pat the dough into a disk, wrap with plastic wrap, and refrigerate for an hour.
- Preheat the oven to 375 F. Line two baking sheets with parchment paper. Divide the dough into two pieces and roll each into a very thin (1/8 inch or less) 10x12 inch rectangle. Using a fluted pastry cutter, cut the rectangles into 1-inch squares, then transfer them to the baking sheets. Sprinkle with Maldon salt if desired.
- Bake for 15 to 17 minutes or until puffed and browning at the edges. Watch carefully, as the high fat content of the crackers makes a fine line between golden delicious and burnt. Immediately move the crackers to racks to cool.
Enjoy!
This is what the dough looked like prior to the water being added.
... and after the addition of the water.
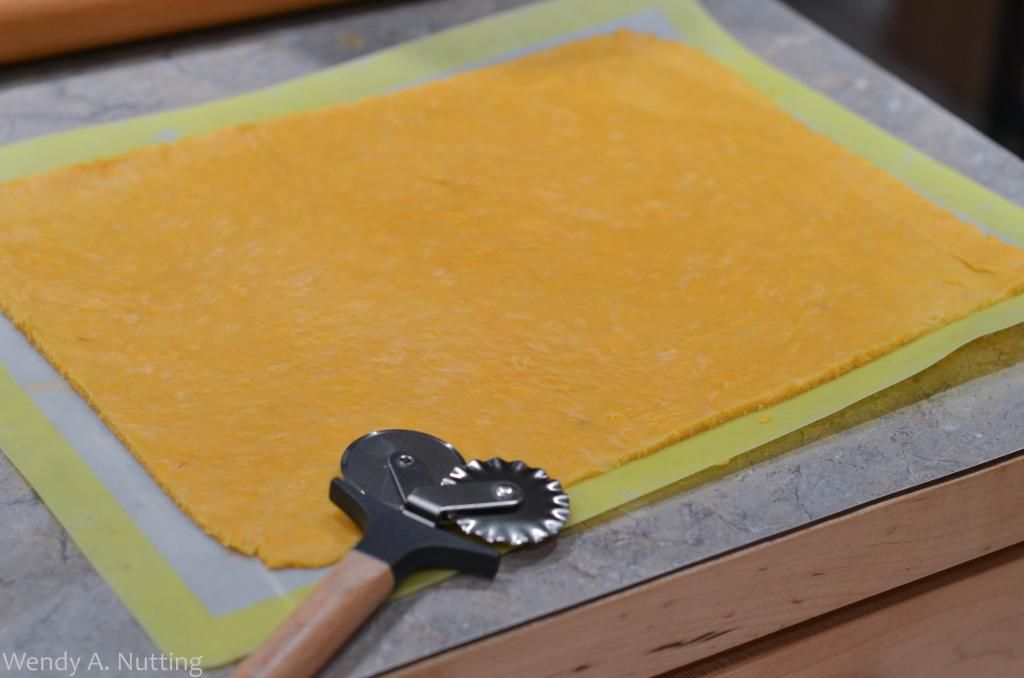
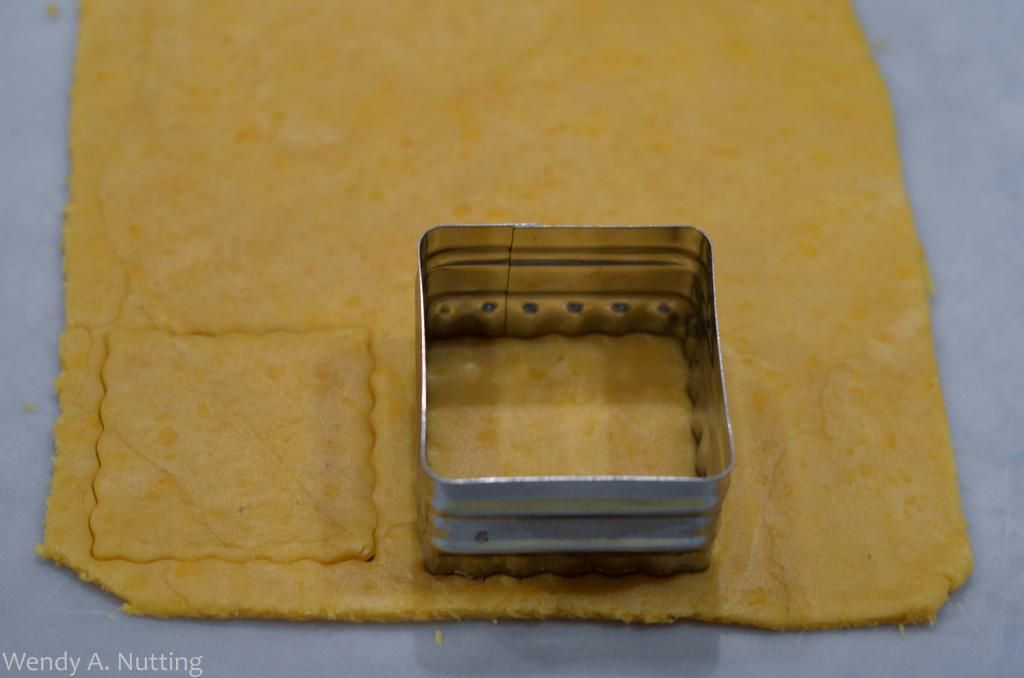
My cookie cutter was exactly 2" across so I used the cookie cutter first then crossed it both ways with a pastry cutter, which worked great.
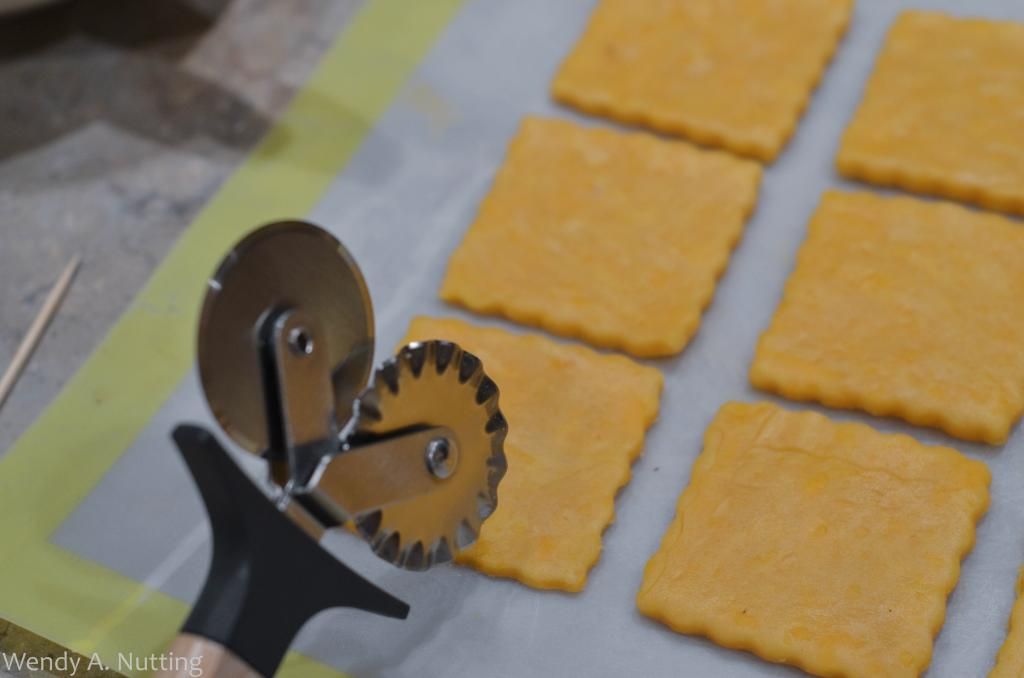
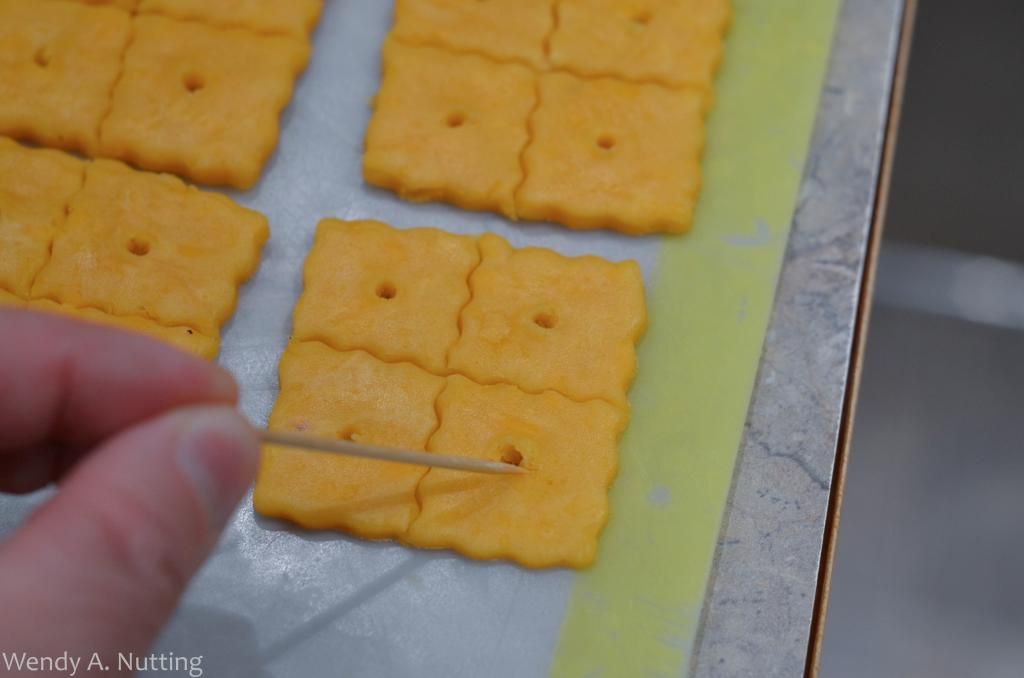
Right before I sent them in the oven, I poked the iconic center hole with a toothpick.
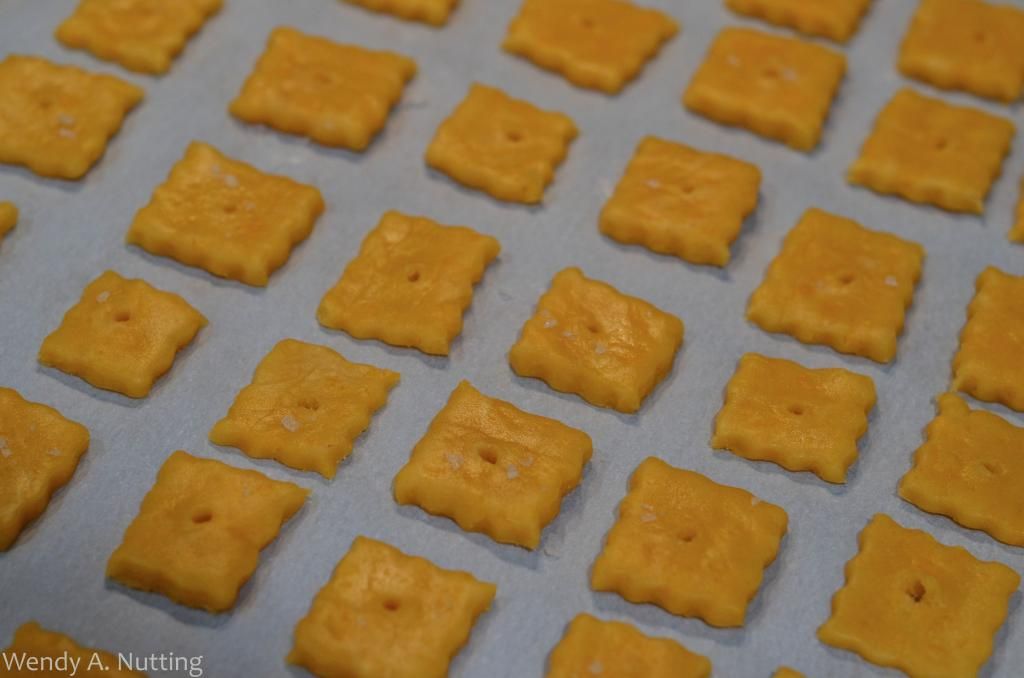
Toasty right out of the oven.
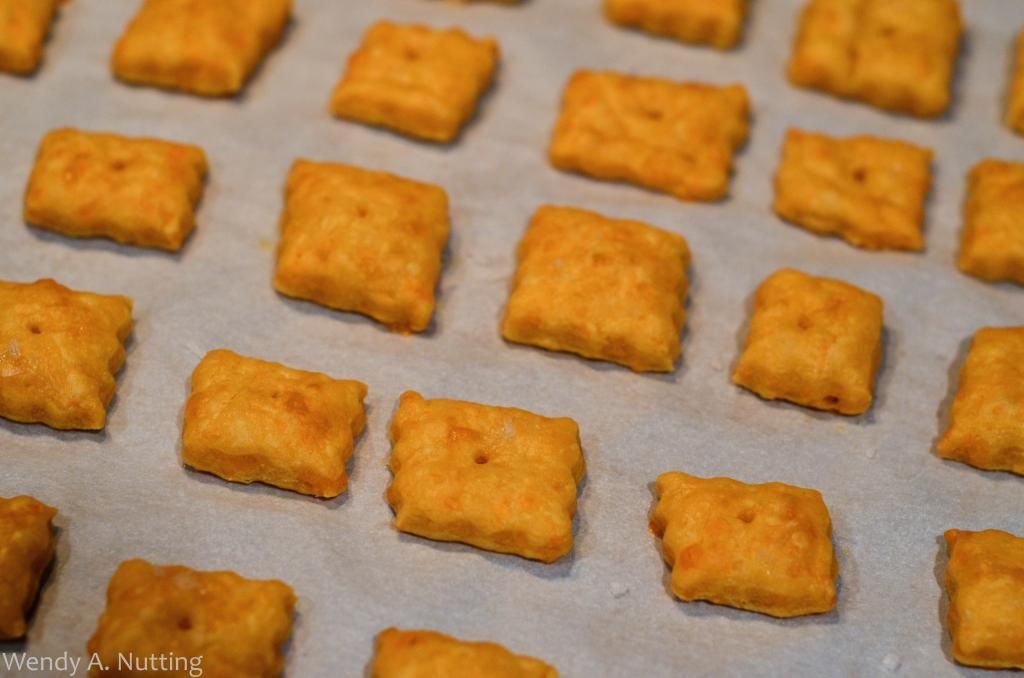
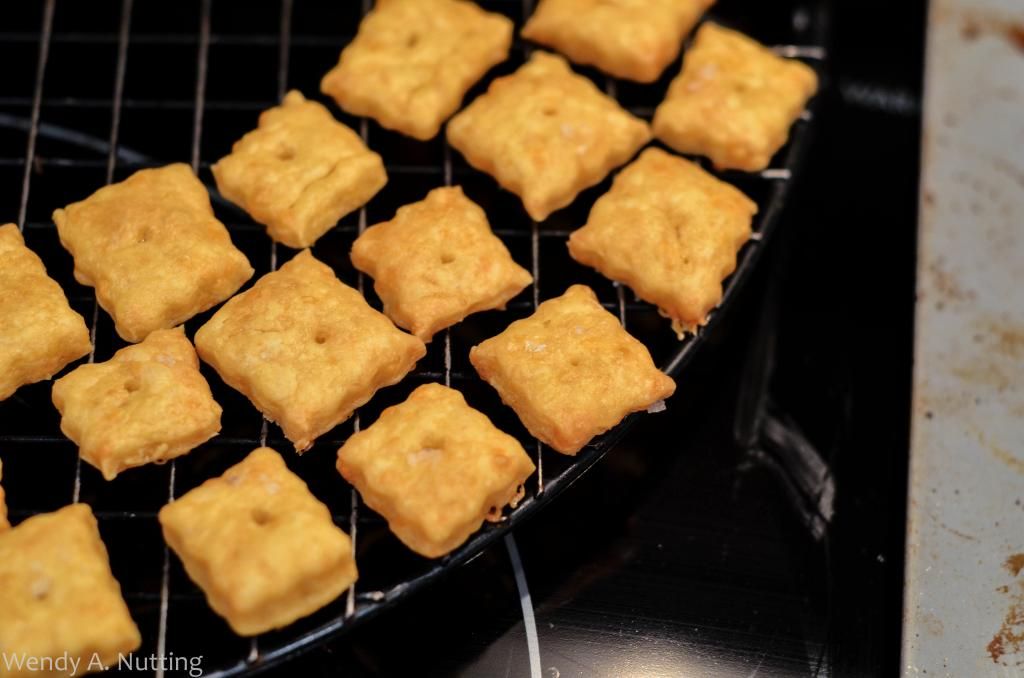
There you have it. Delicious!
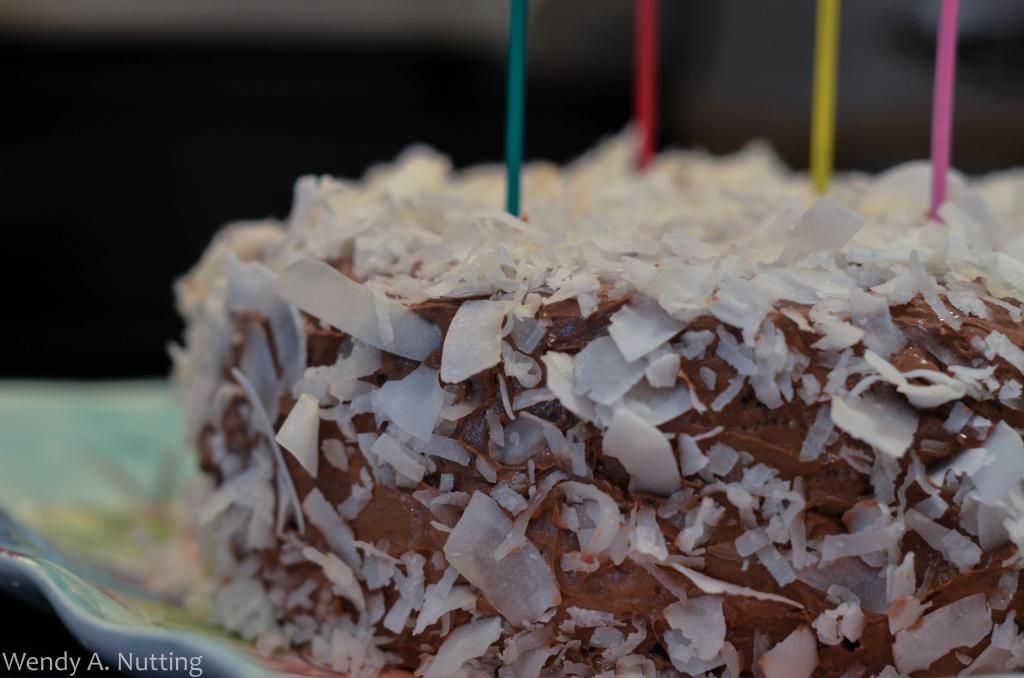
And here is a picture of the birthday cake.
Have a lovely Monday.
